Prepare enclosure
The enclosure’s design files can be found here:
- STL/STEP format: Github repo (https://github.com/RWTH-E3D/ressourcenwaechter) –
./hardware/enclosure - Project files for 3d printing: Github repo (https://github.com/RWTH-E3D/ressourcenwaechter) –
./hardware/enclosure/3dprint
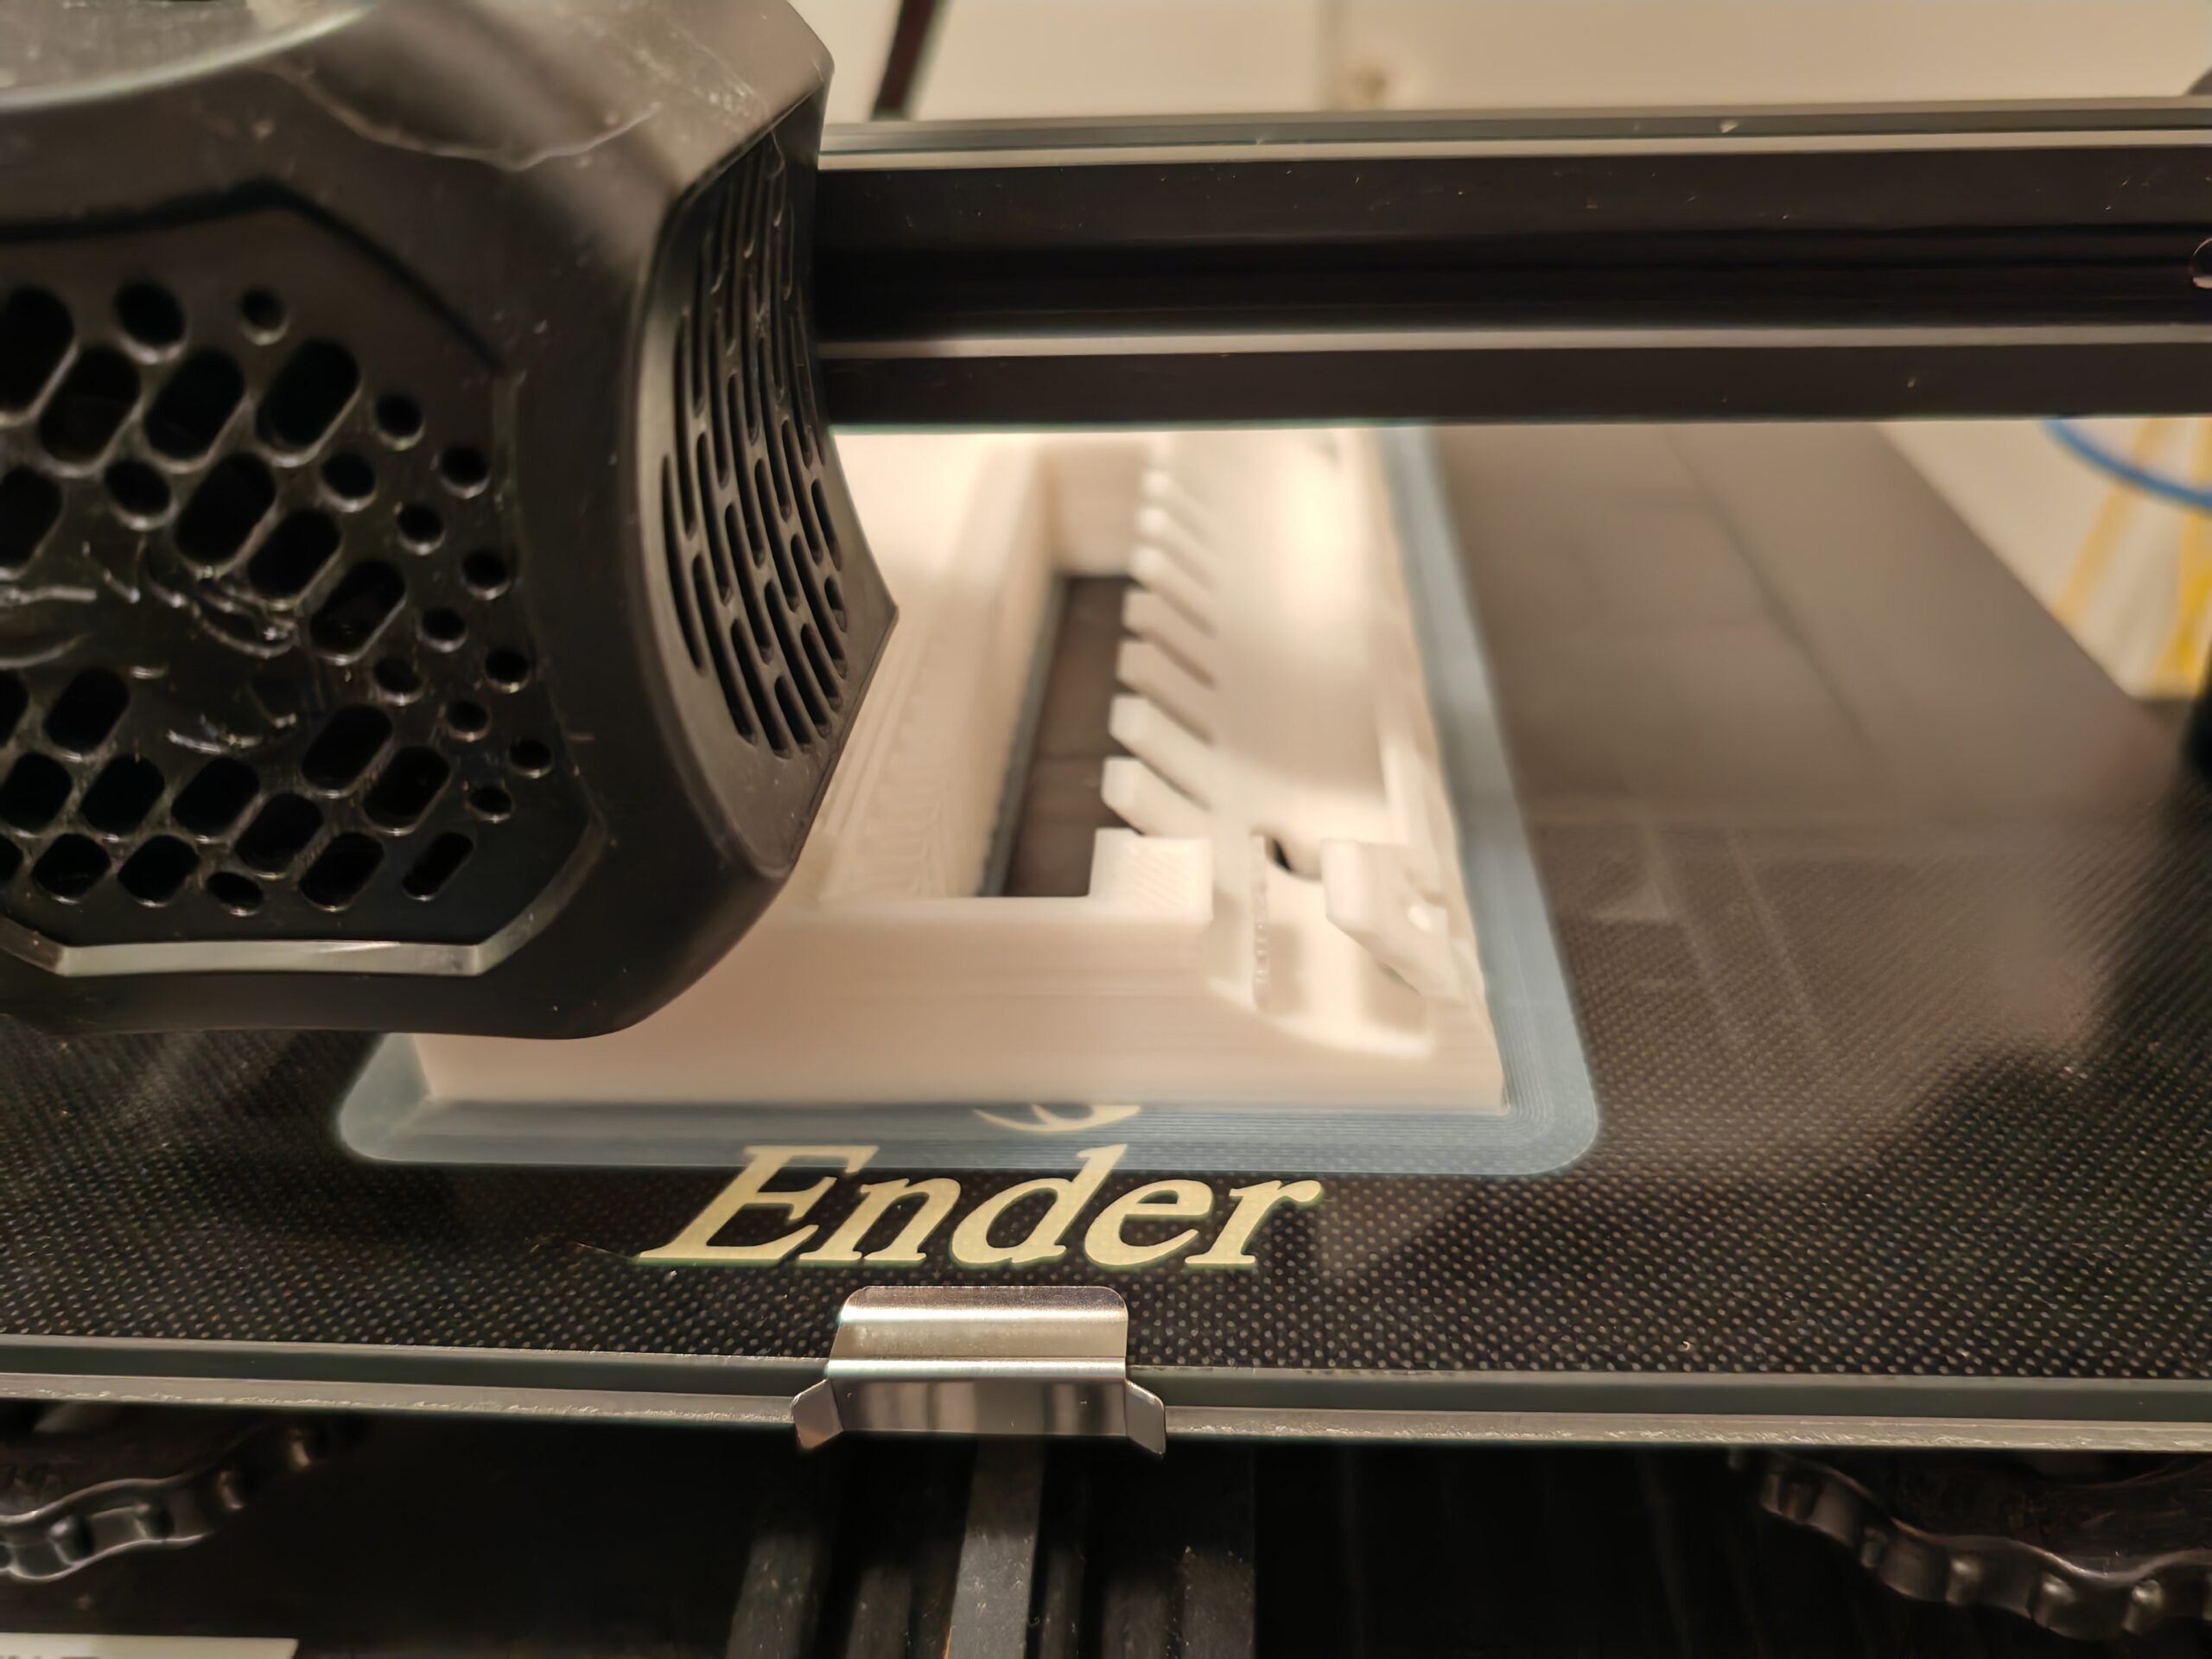
We used the Orca Slicer to slice the STL file. You can find the project files (.3mf) and the final gcode file in the folder above for Creality Ender 3 v2 and Ender 5 plus. If you’re using the same 3d printer, you can use the gcode file directly.
The following are the slicing parameters we used:
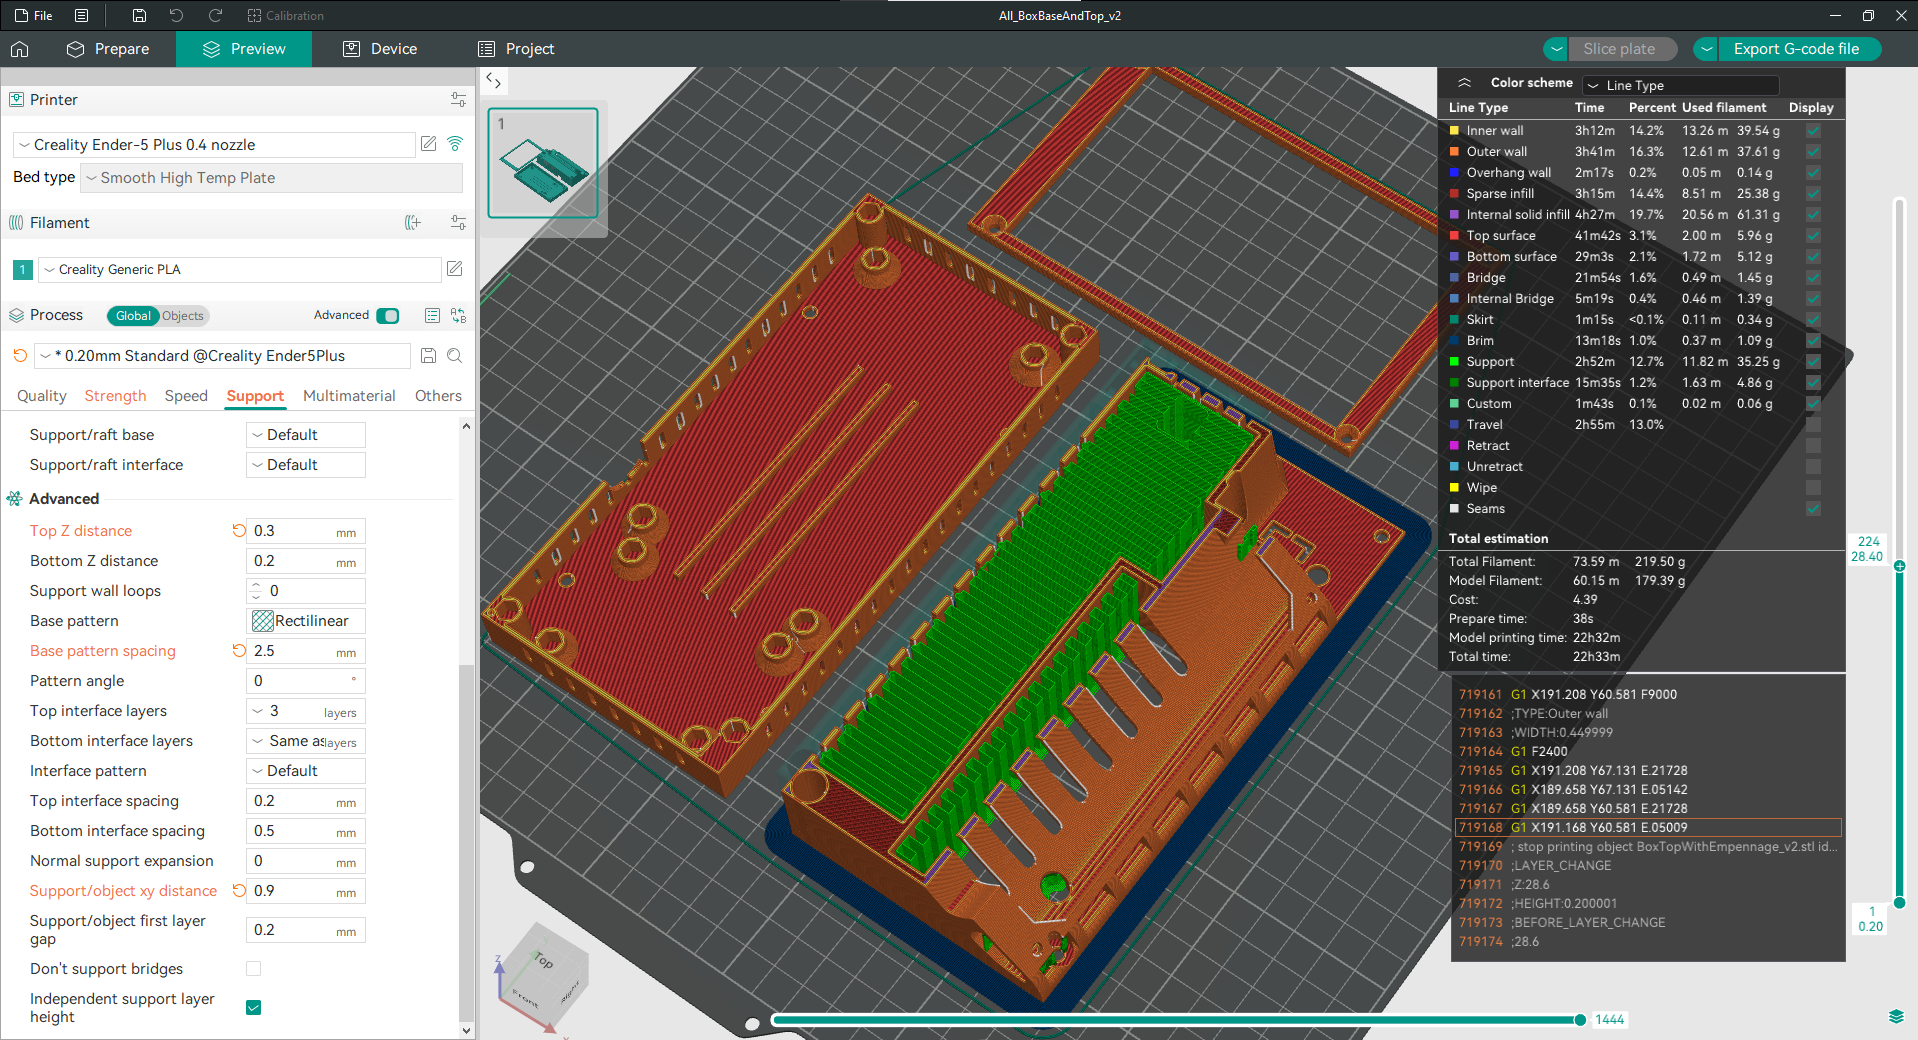
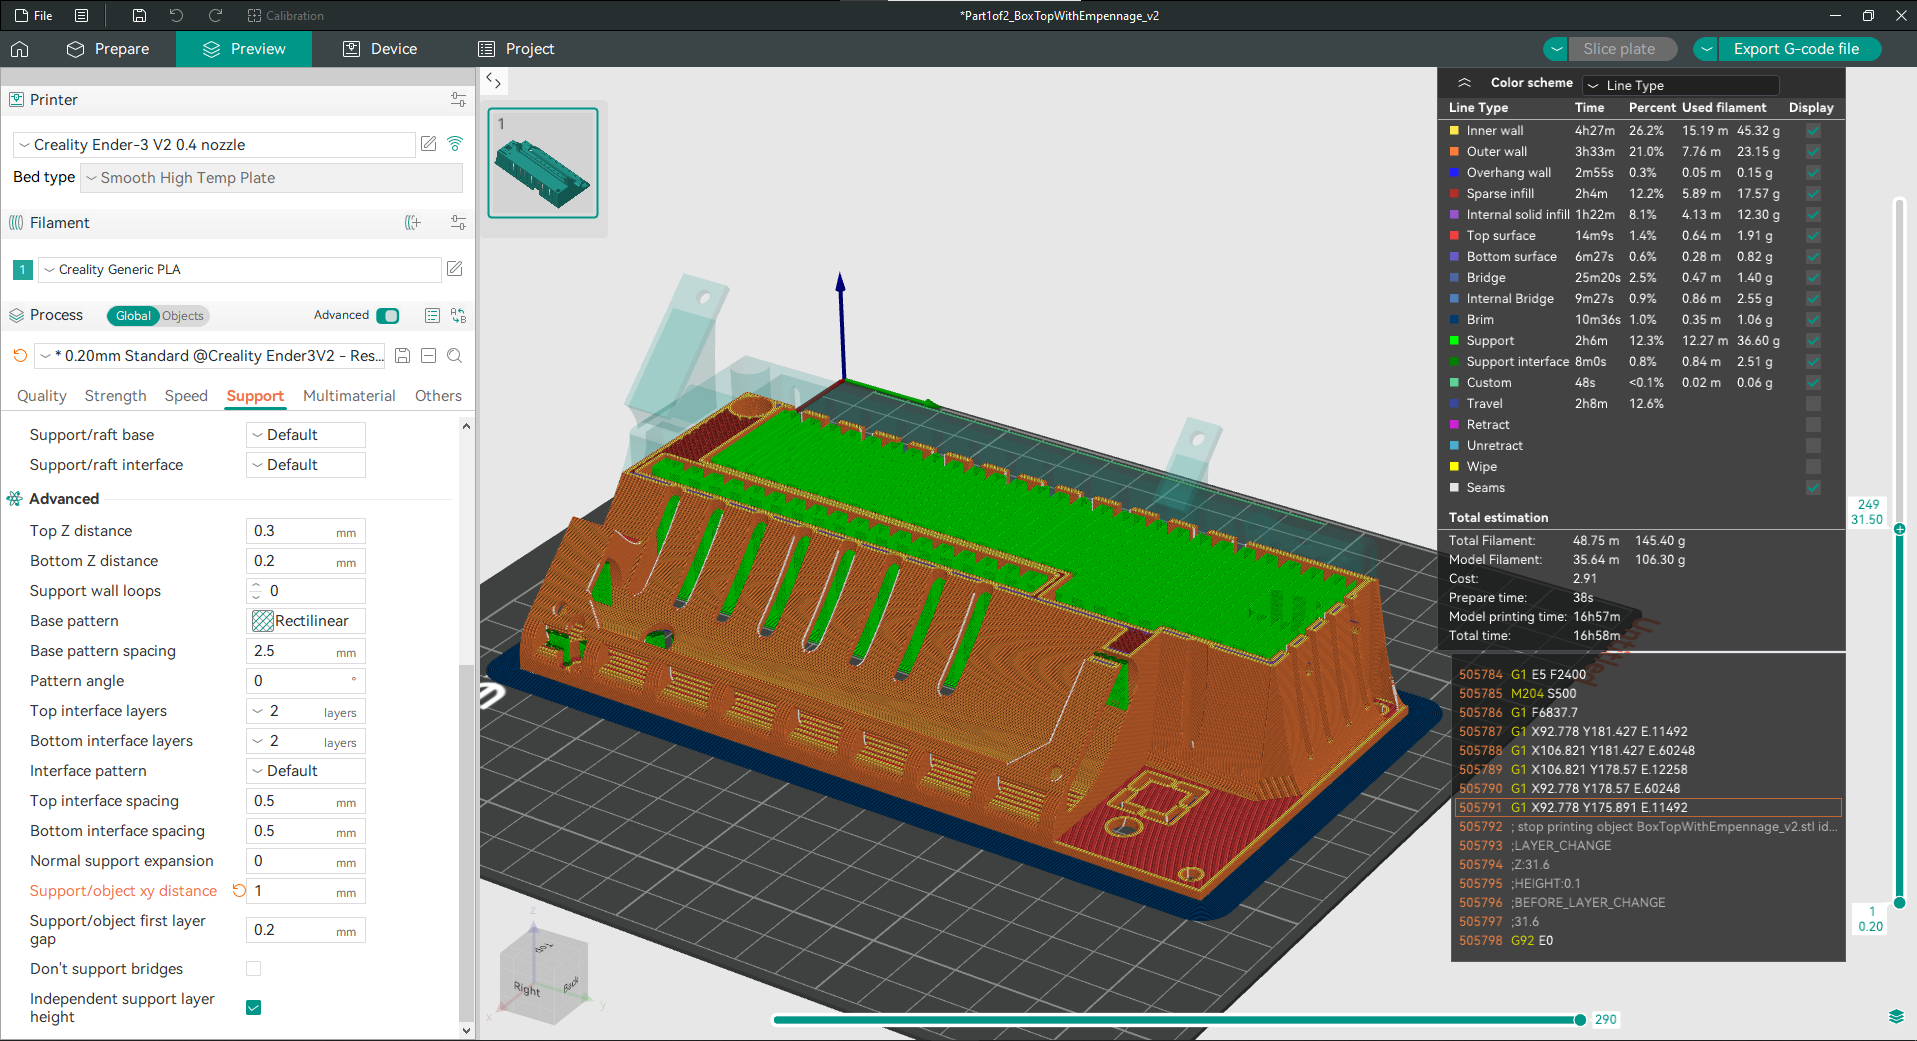
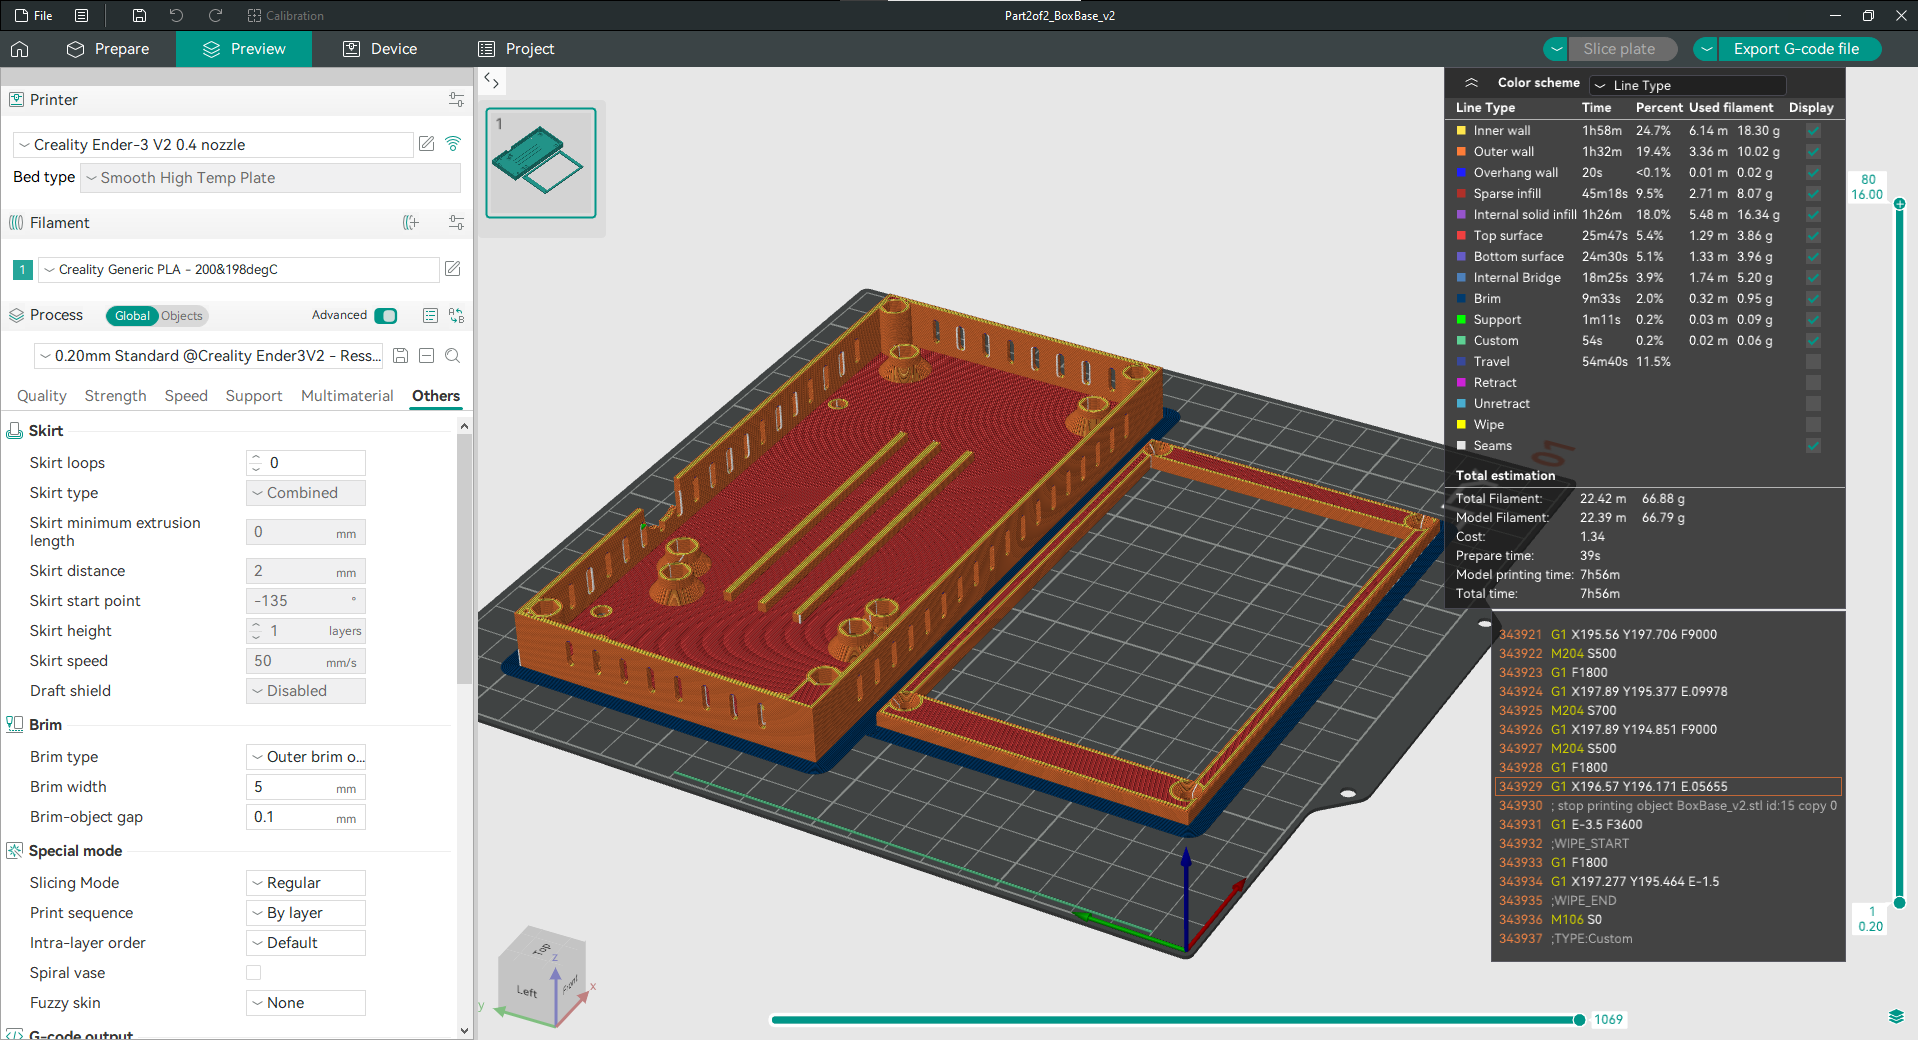
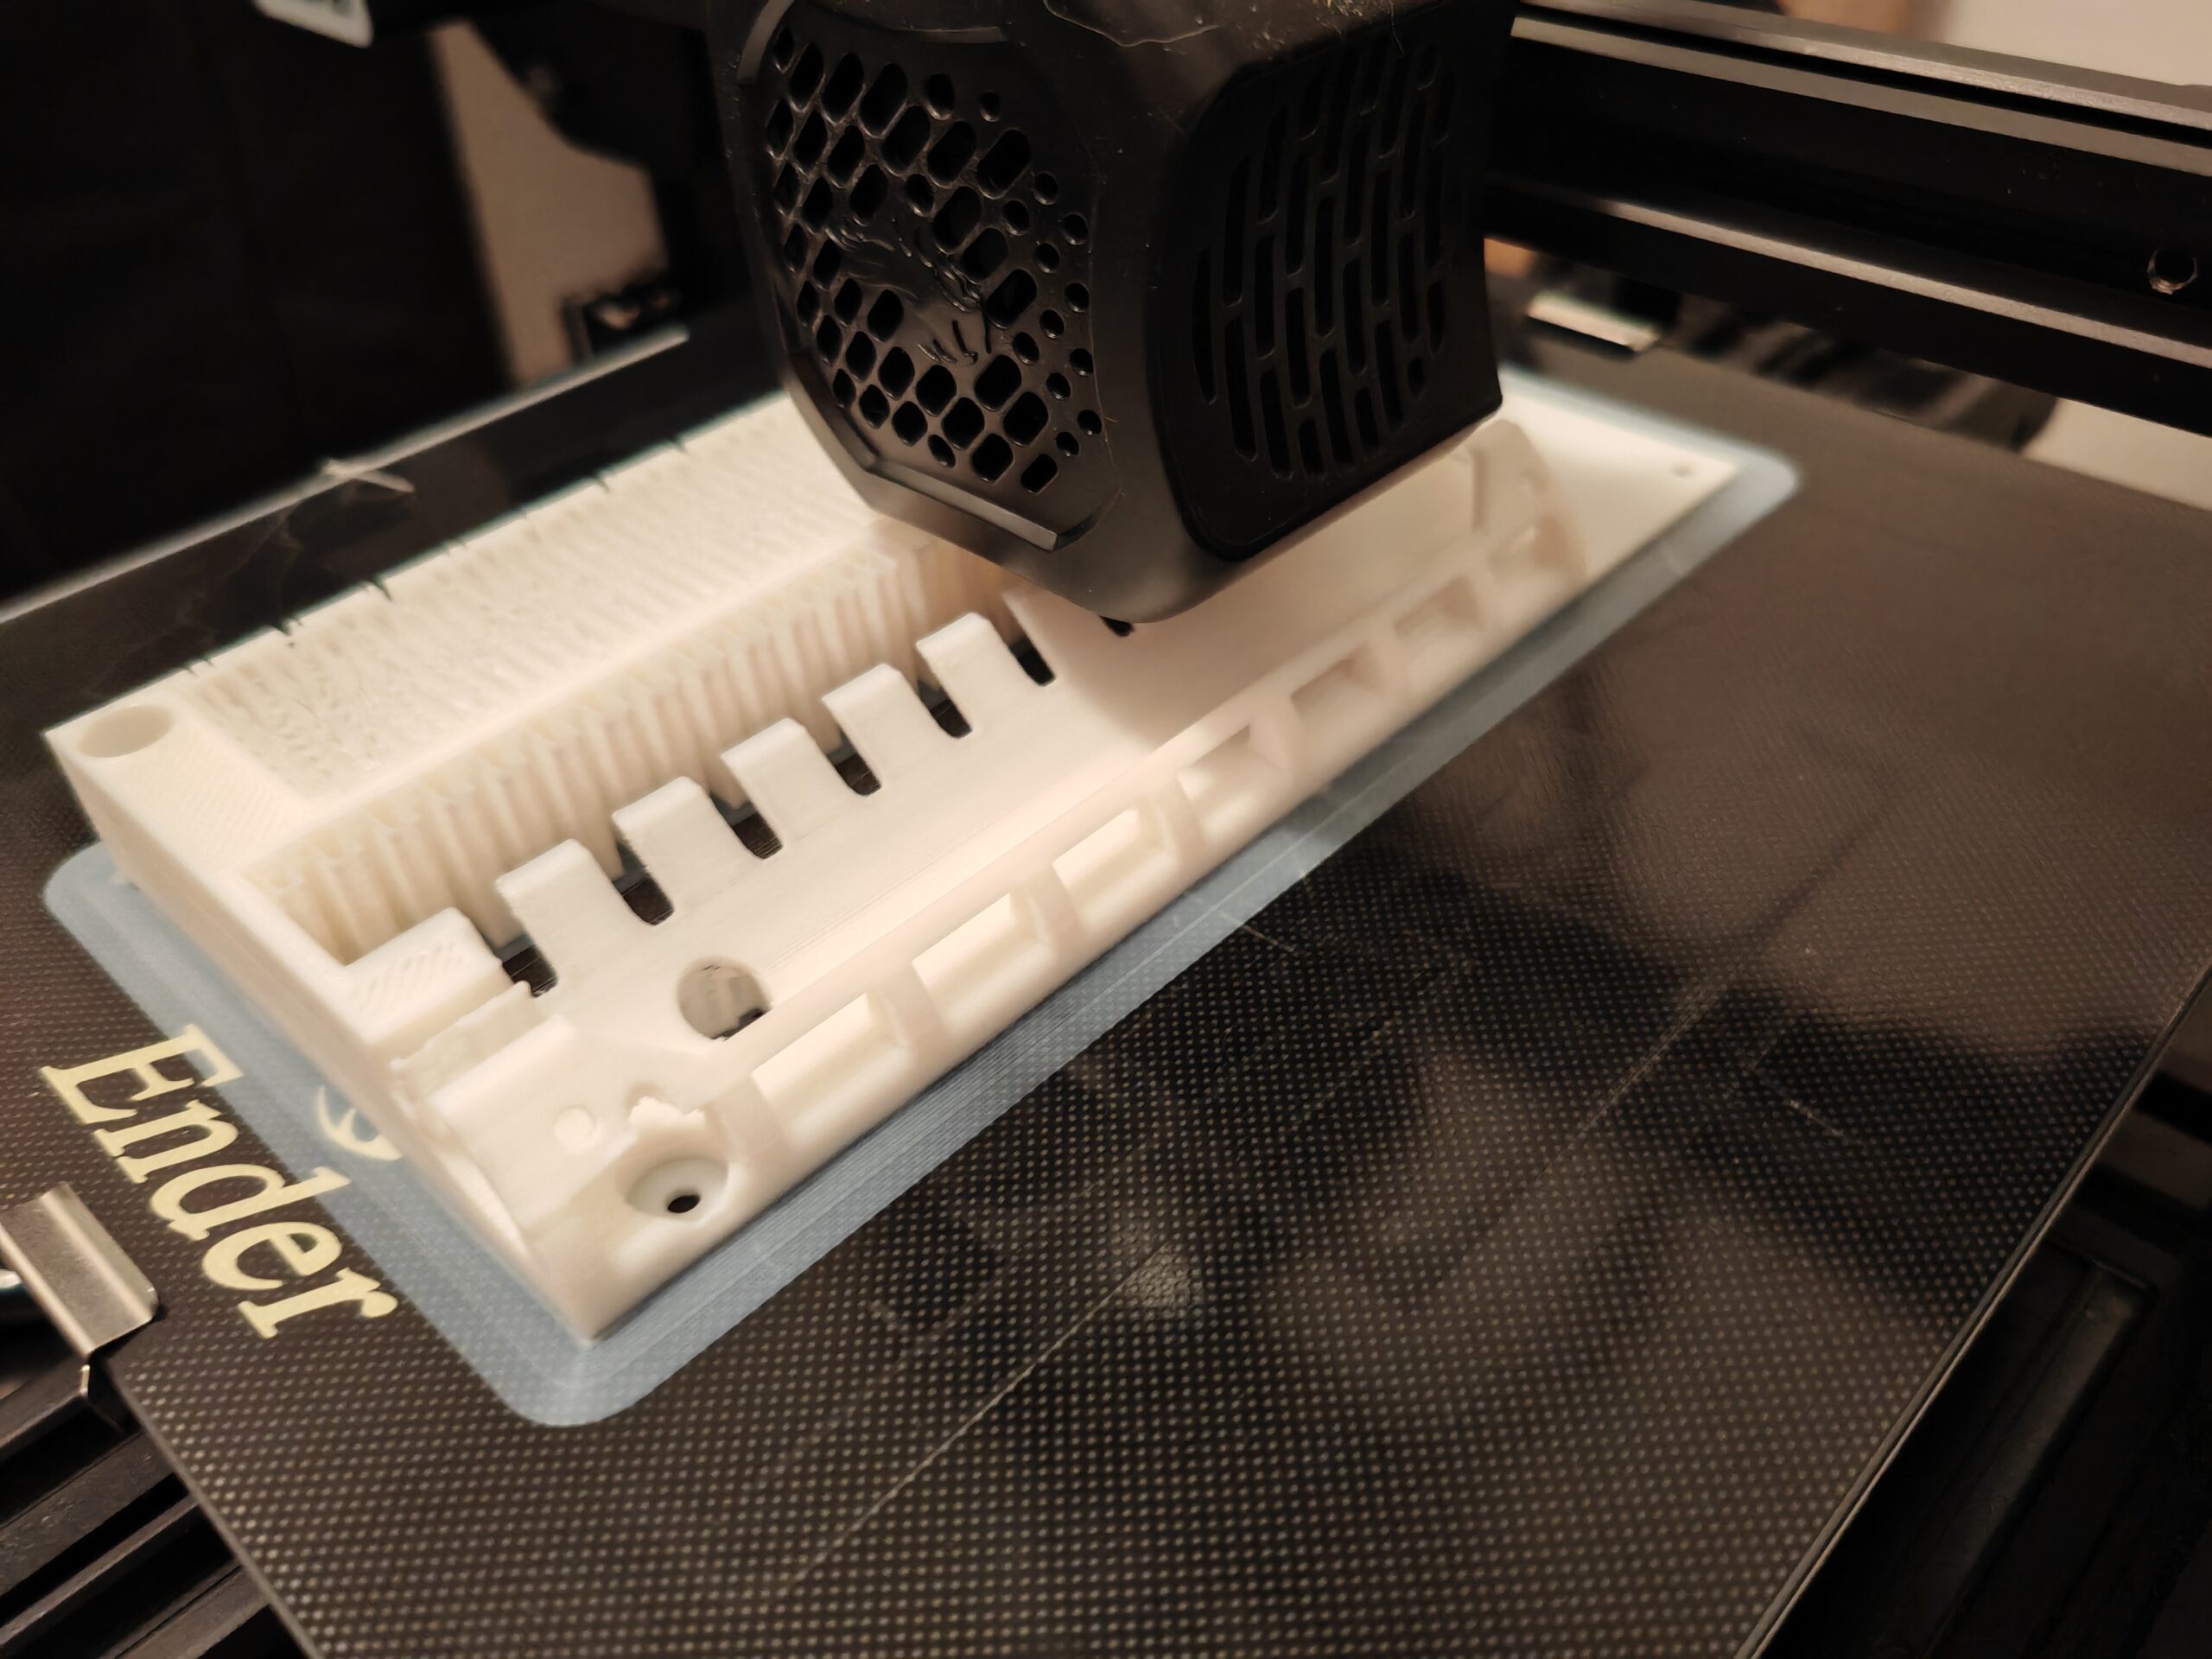
Use the gcode file to print the enclosure (three parts in total):
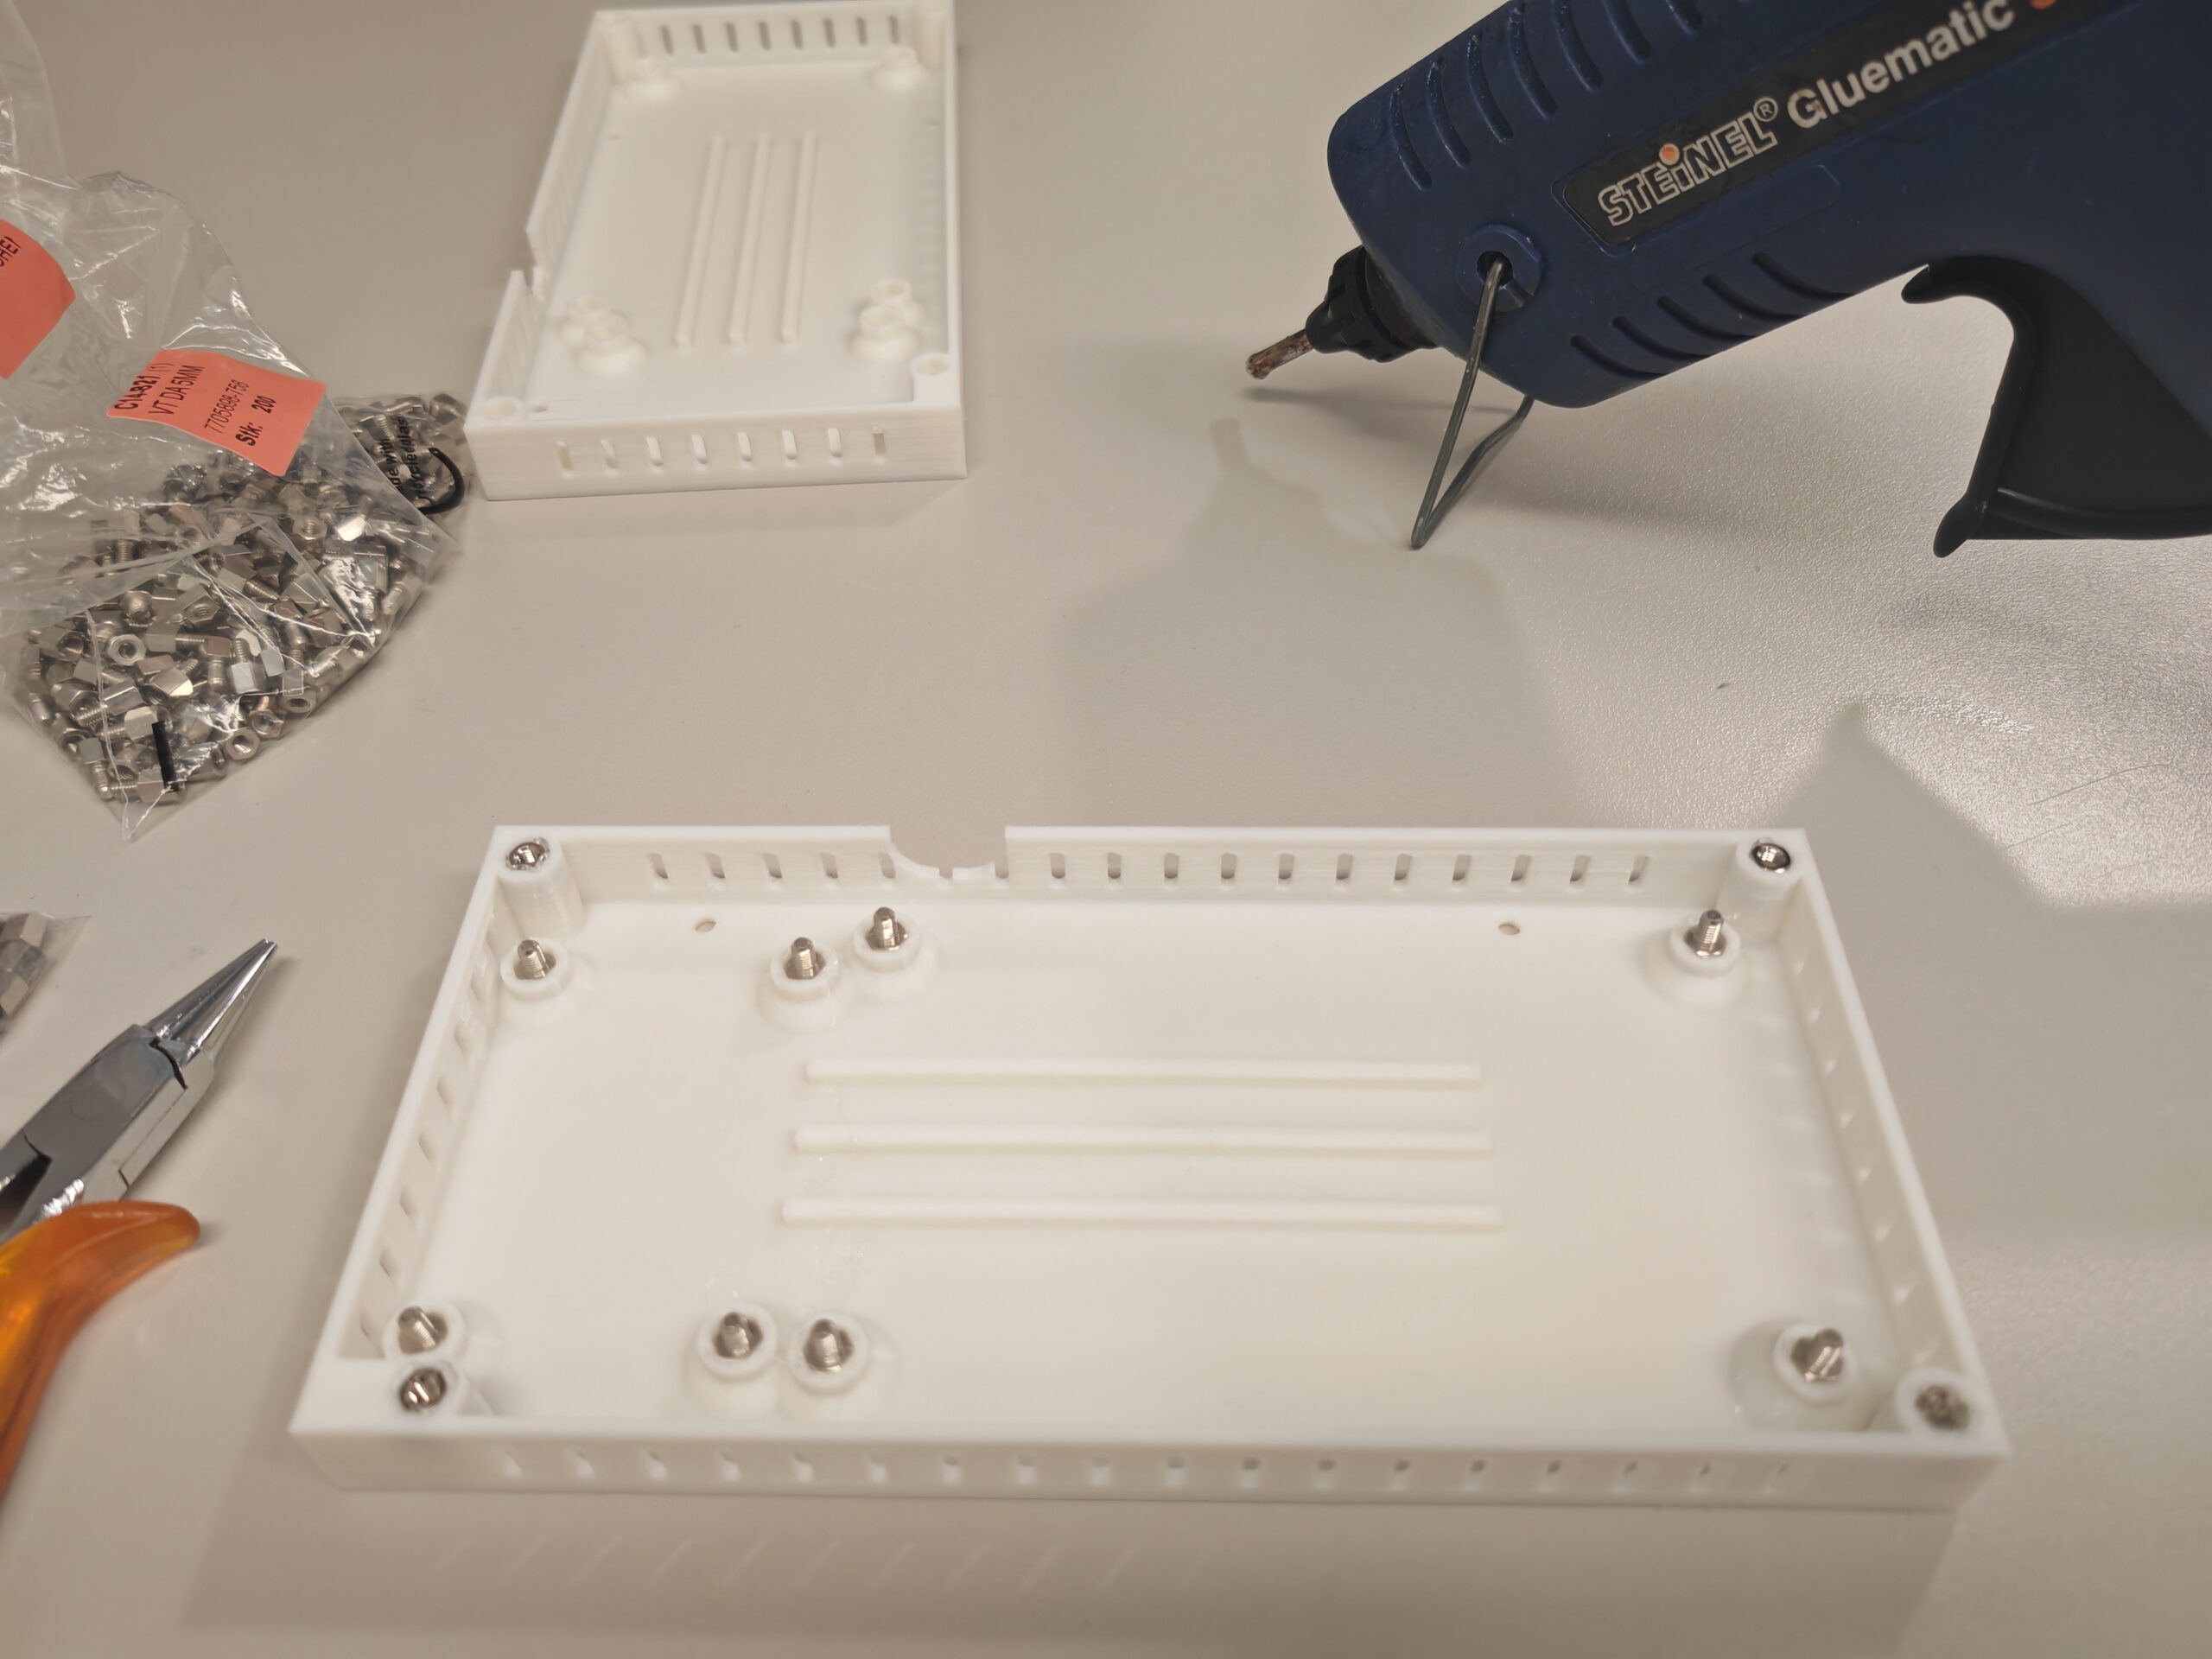
After printing, install the fixing nuts. You will need:
- 4 spacer sleeves, metal, hexagonal, M3, 5mm, internal thread
- 8 spacer sleeves, metal, hexagonal, M3, 5mm, external thread
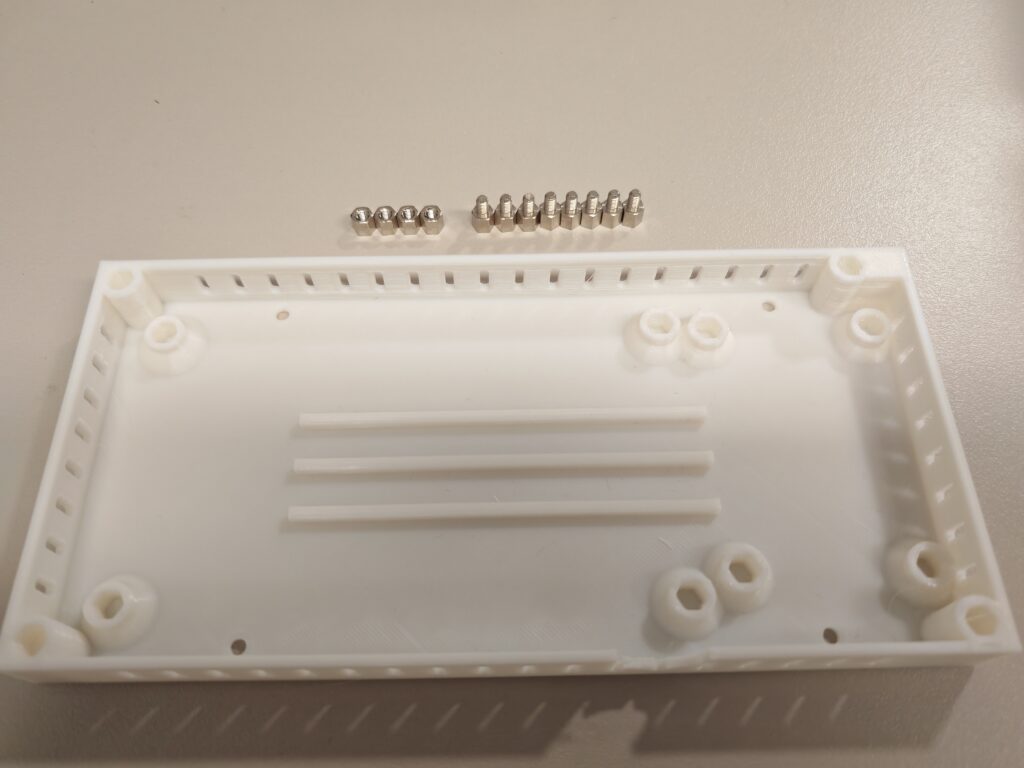
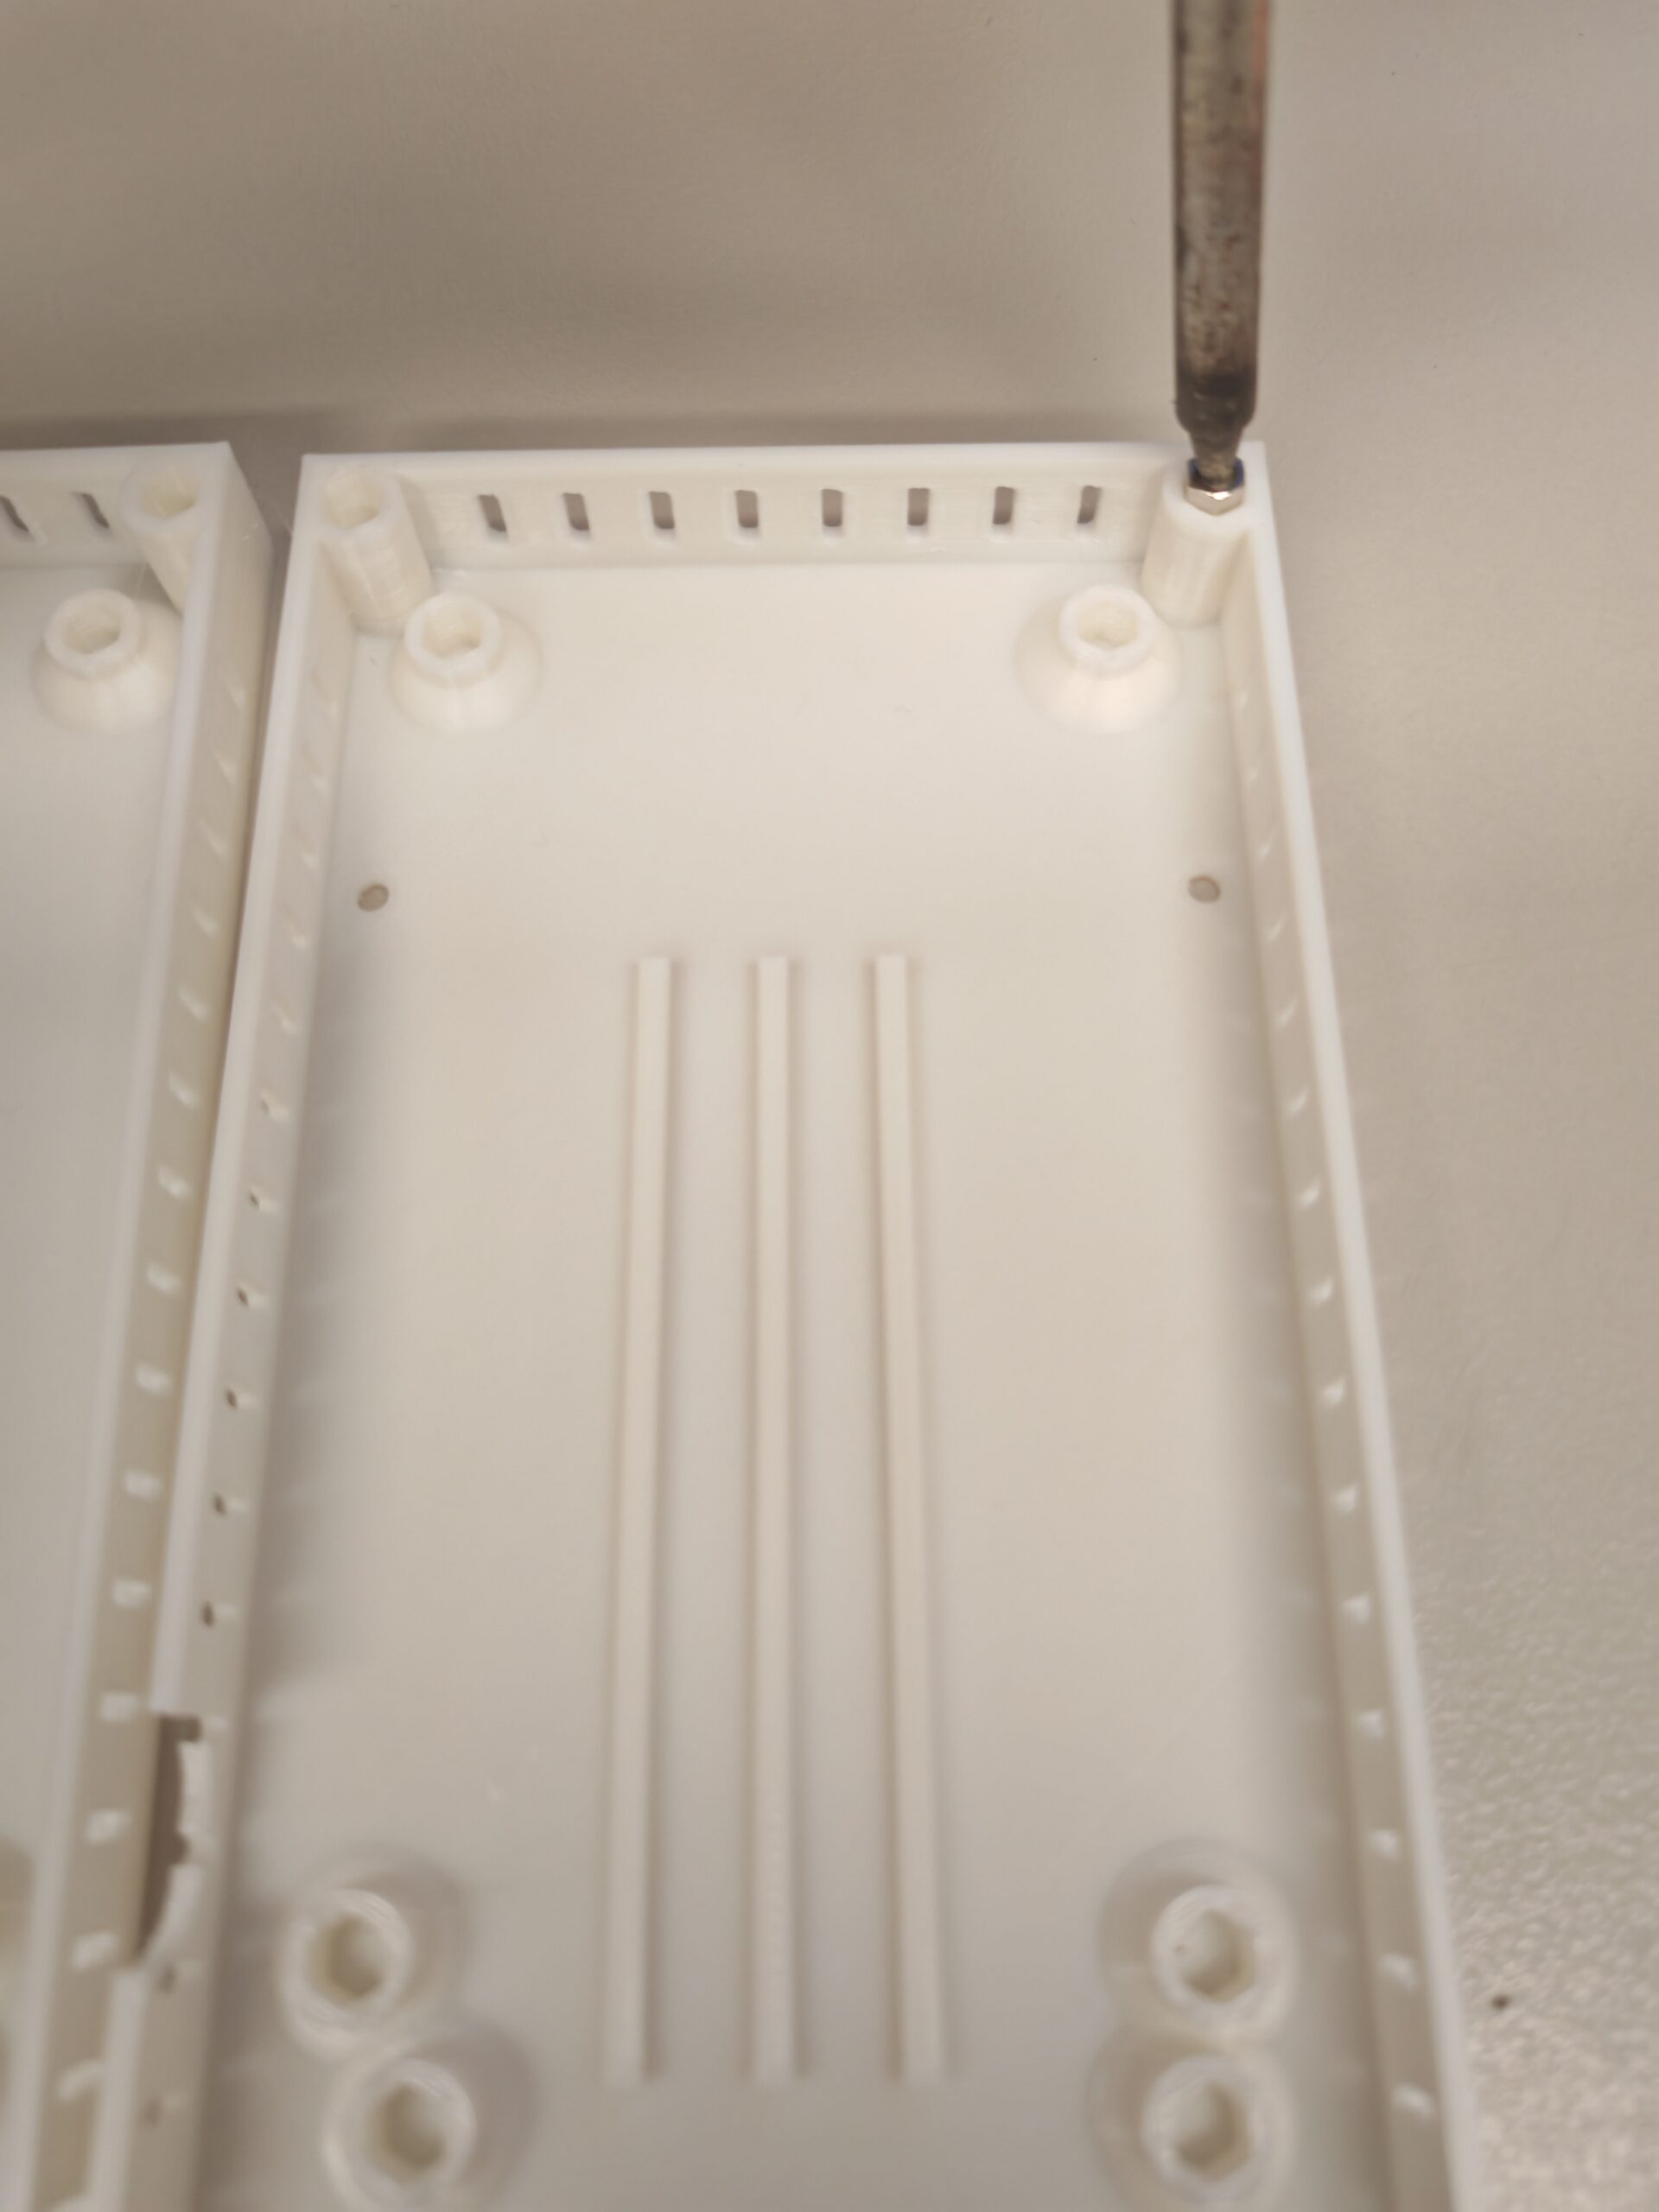
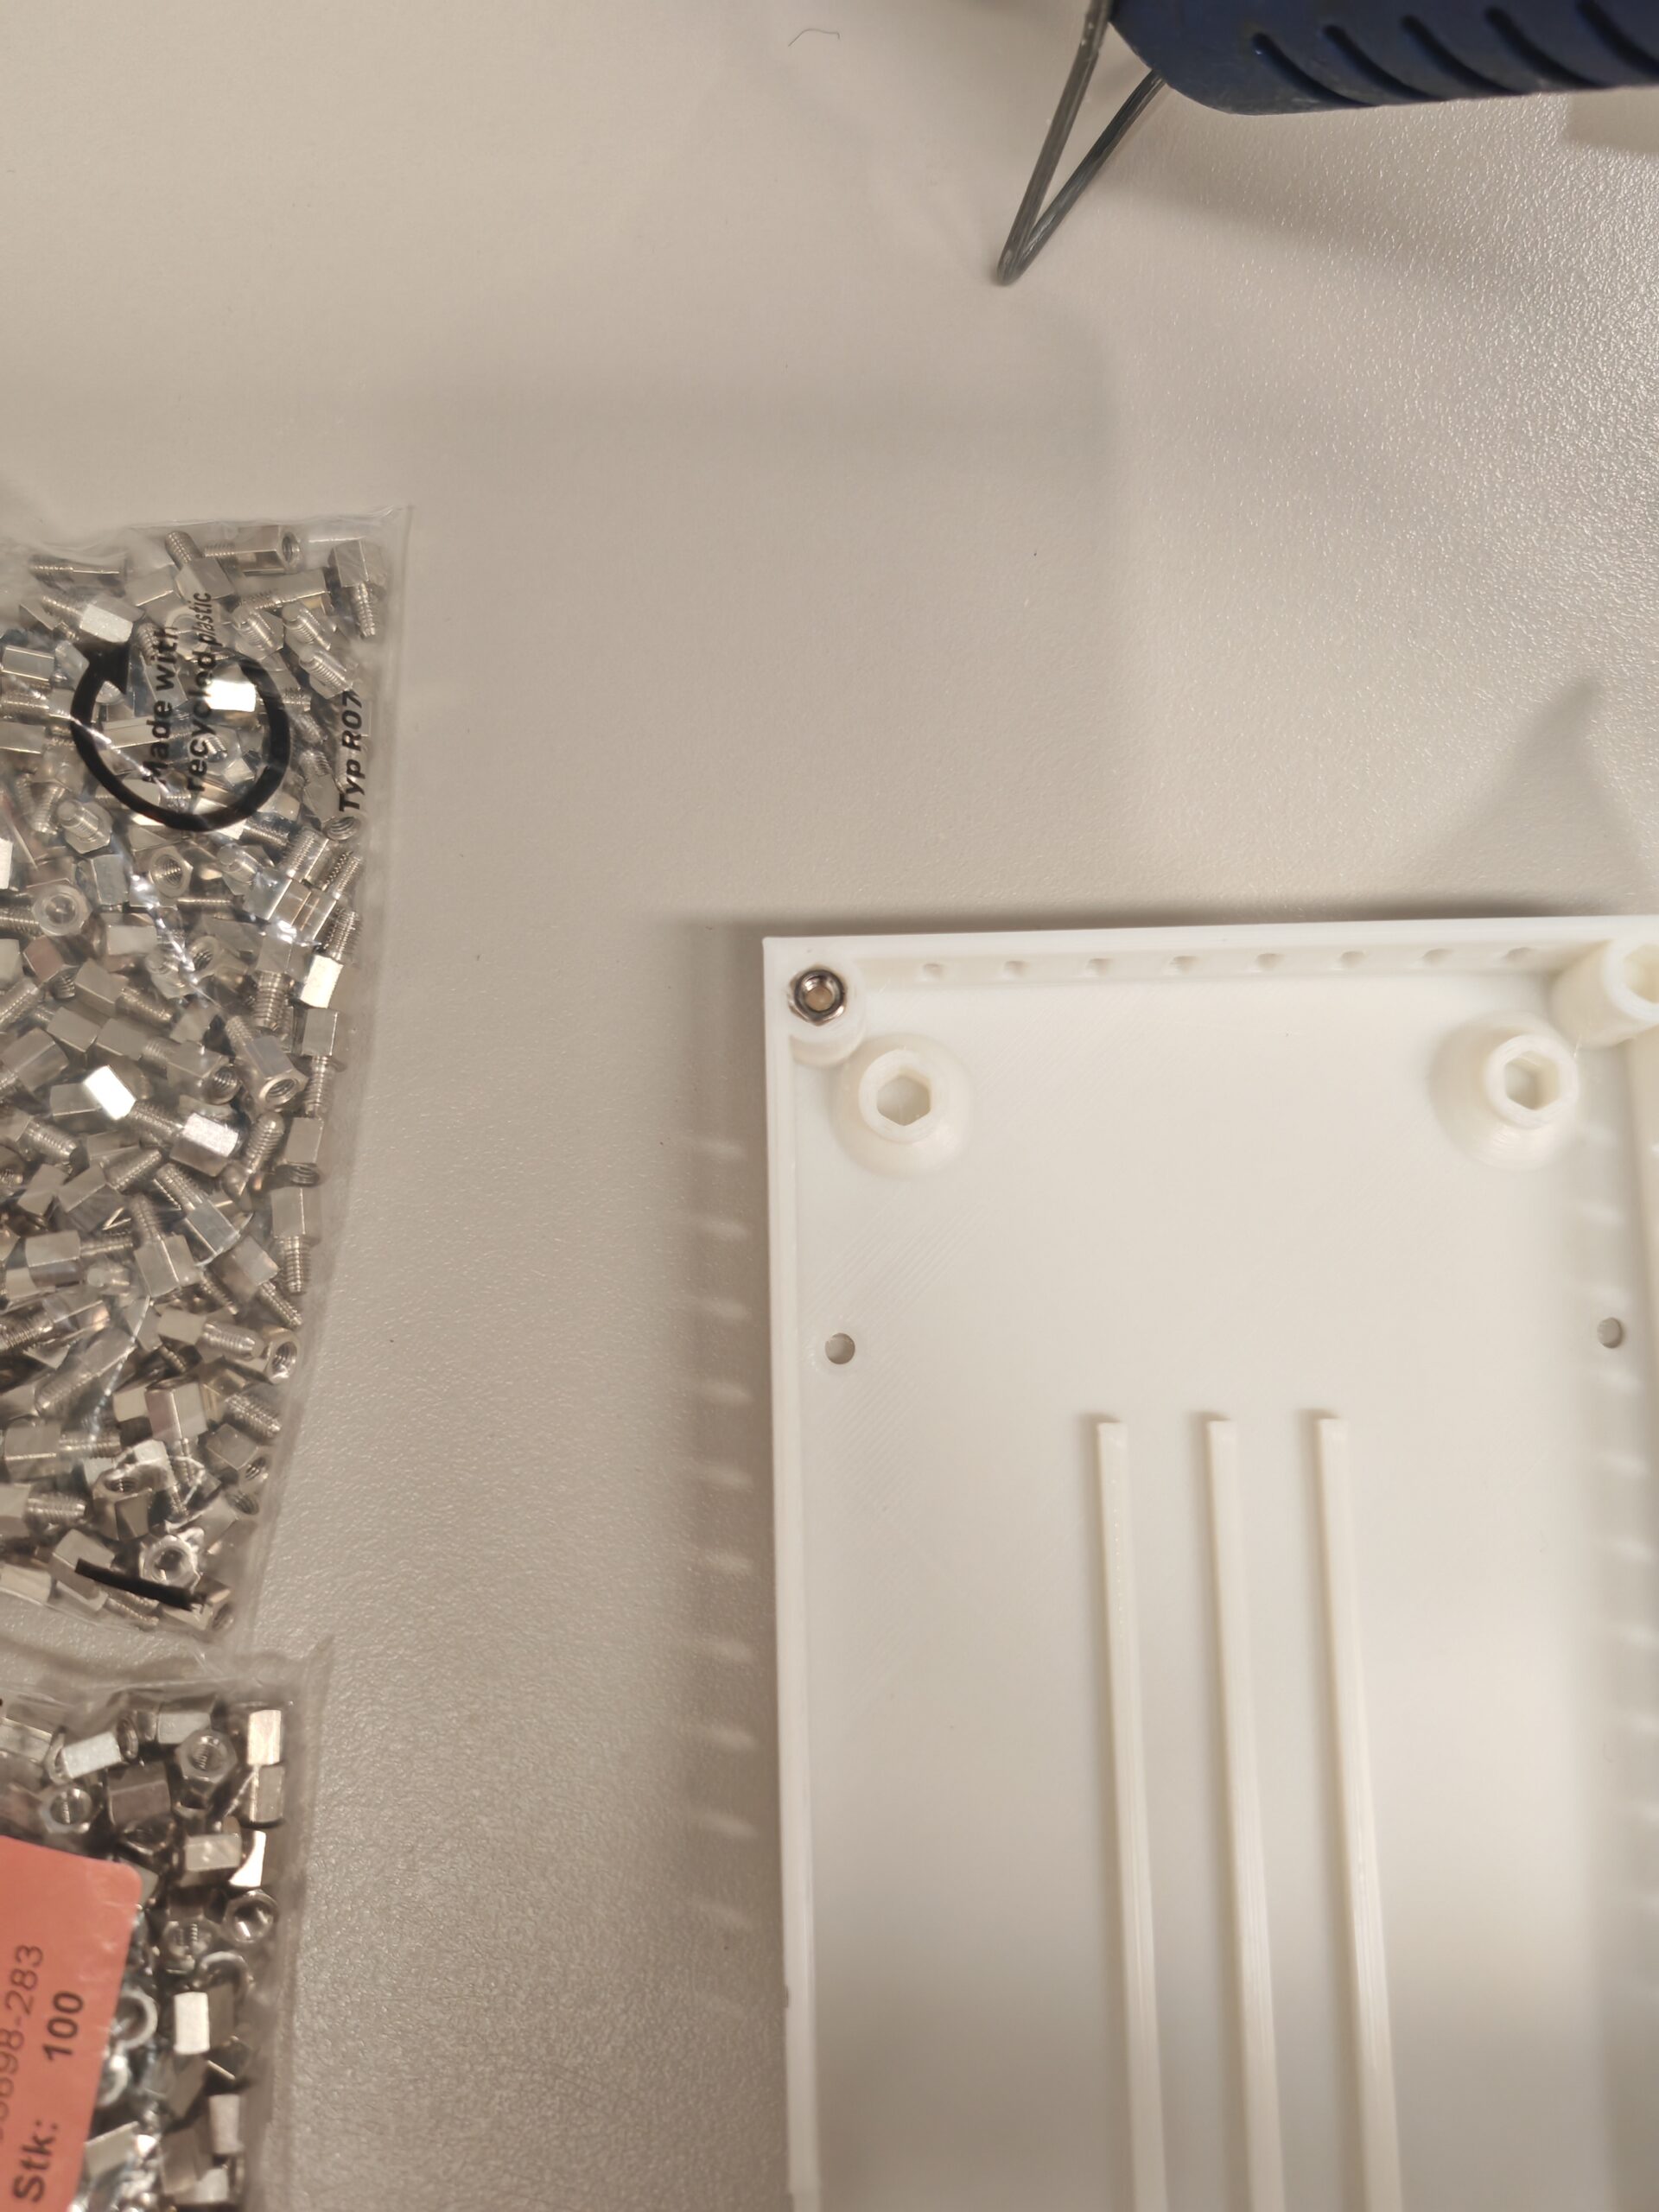
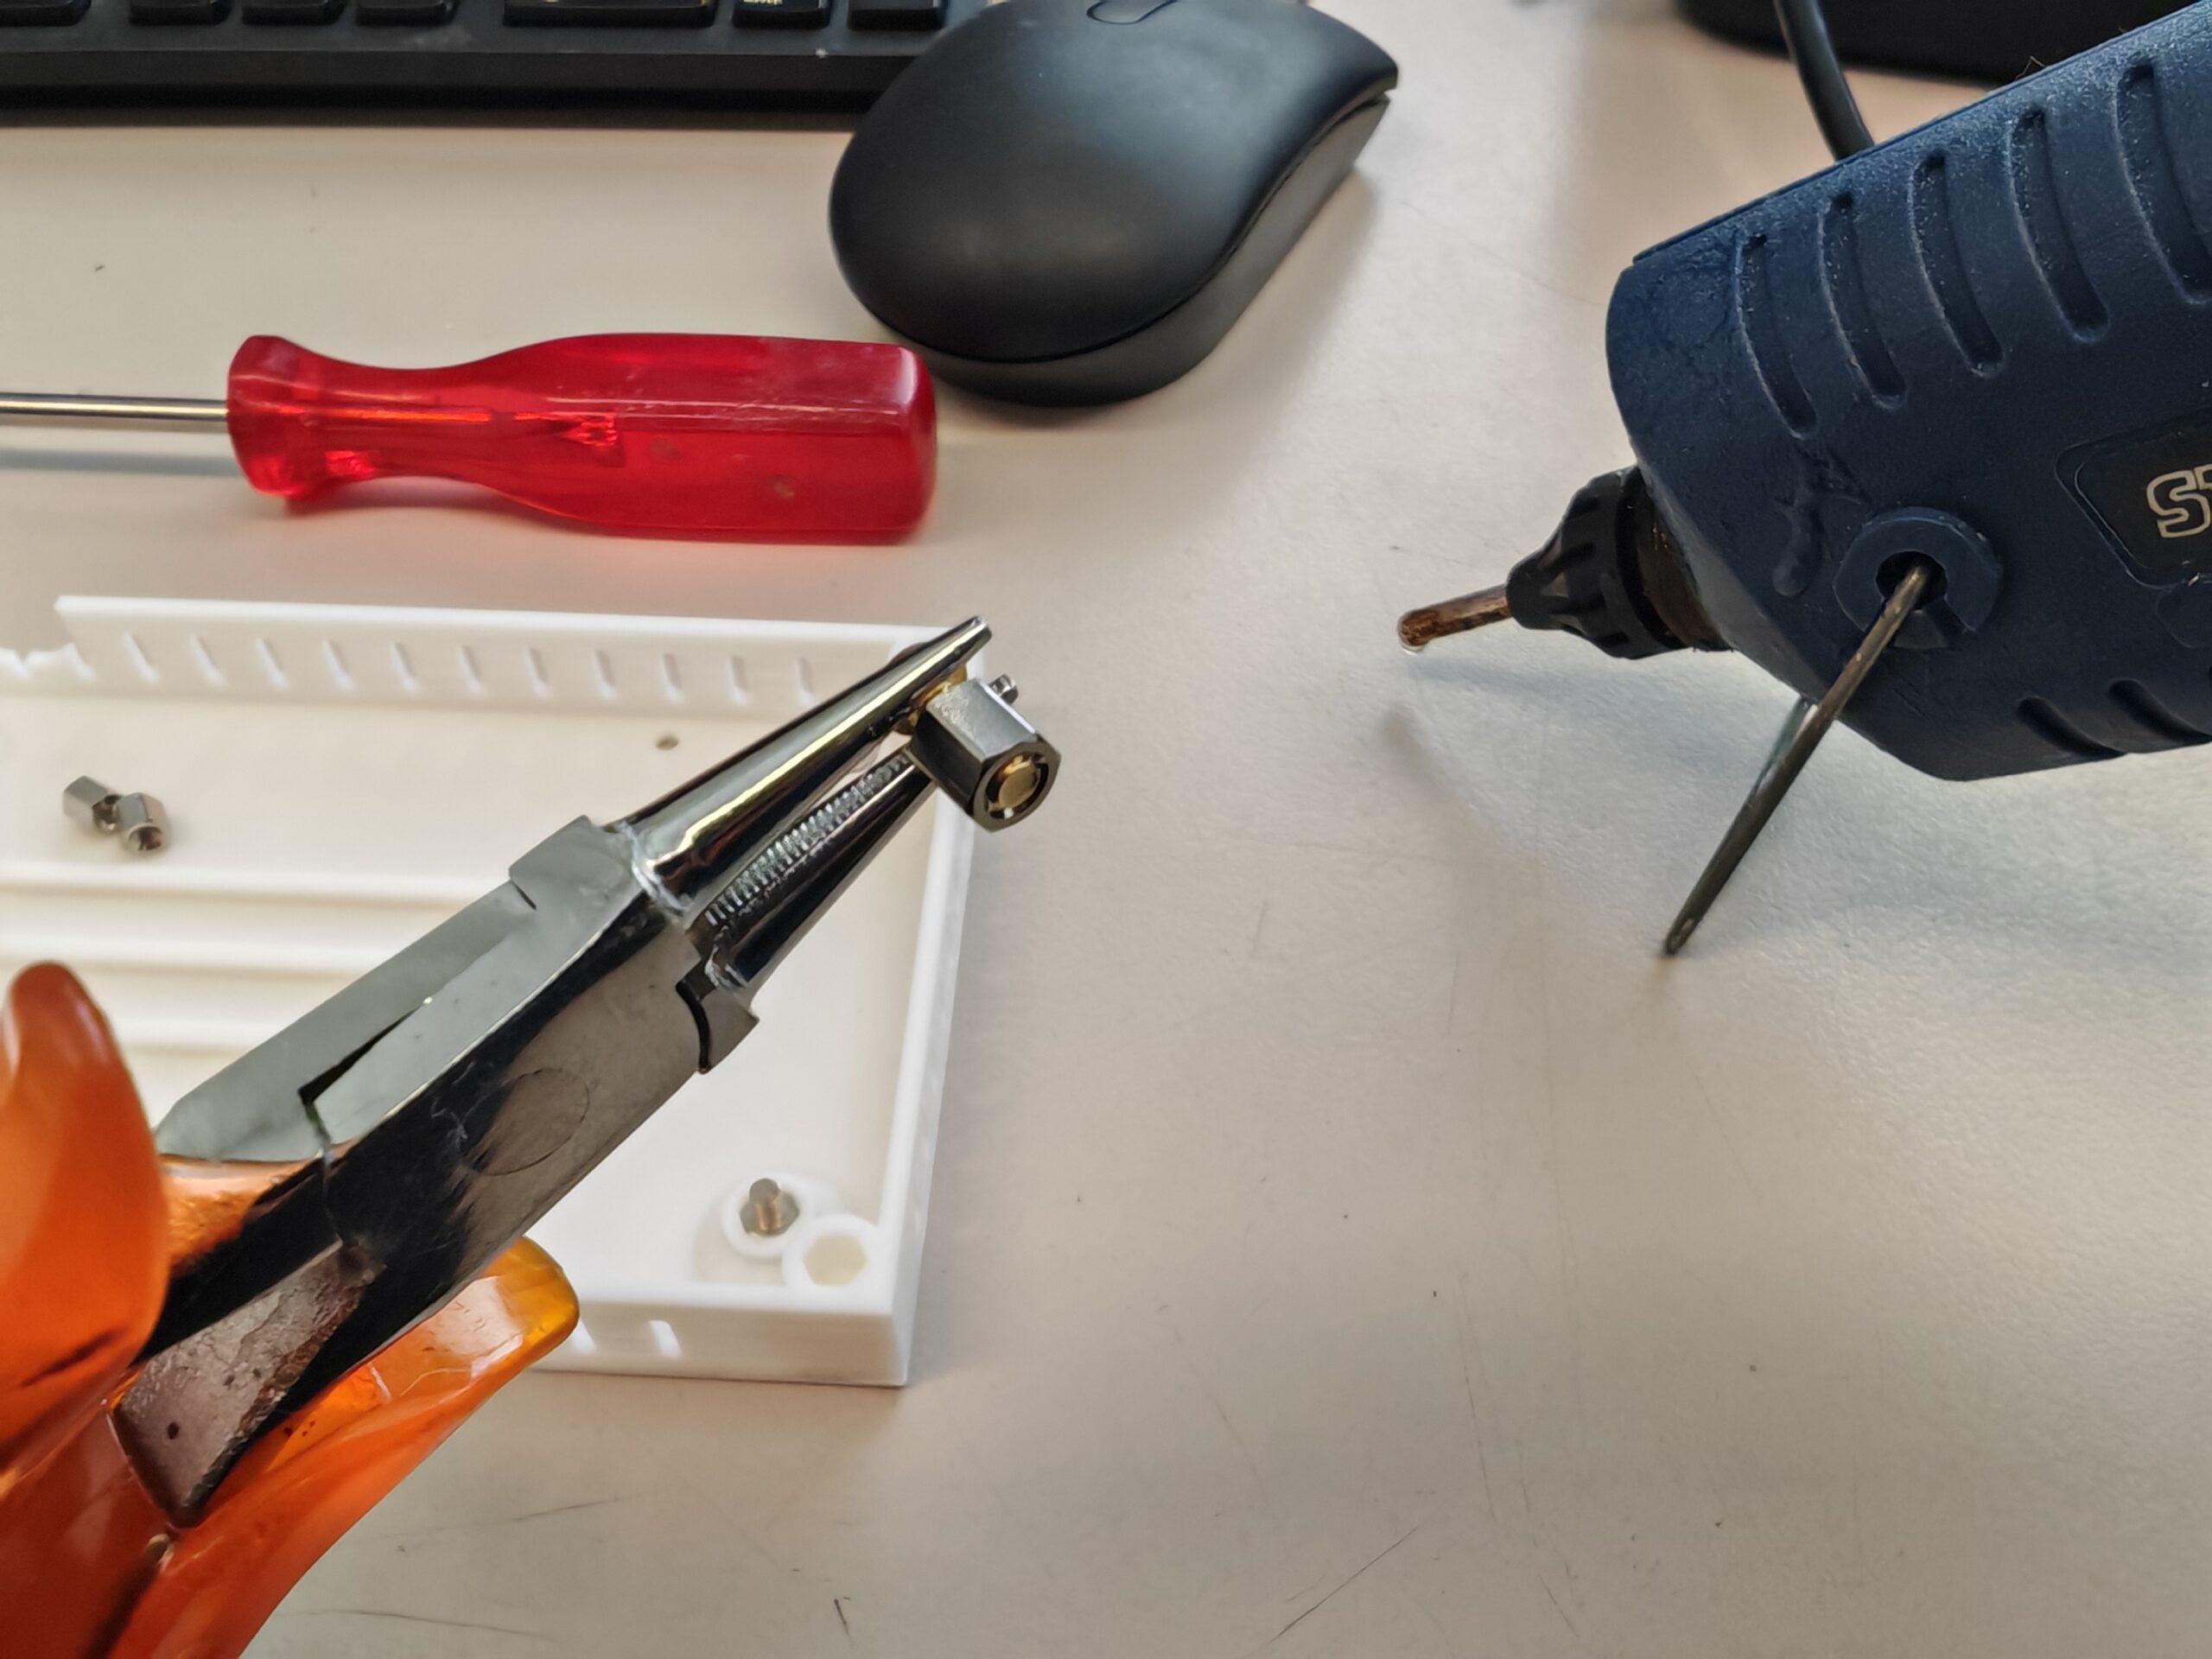
Depending on the print quality, use a soldering iron (when the printed holes are slightly smaller) or a hot melt glue gun (when the holes are slightly larger) to install the nuts into the corresponding holes, as shown in the figures below:
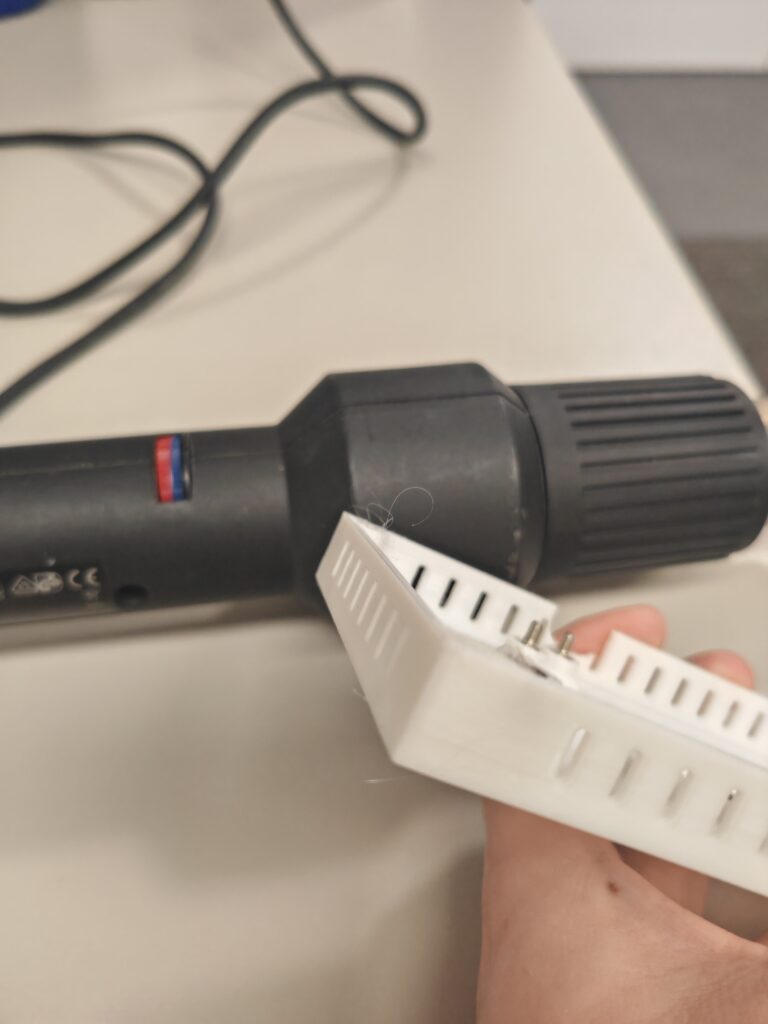
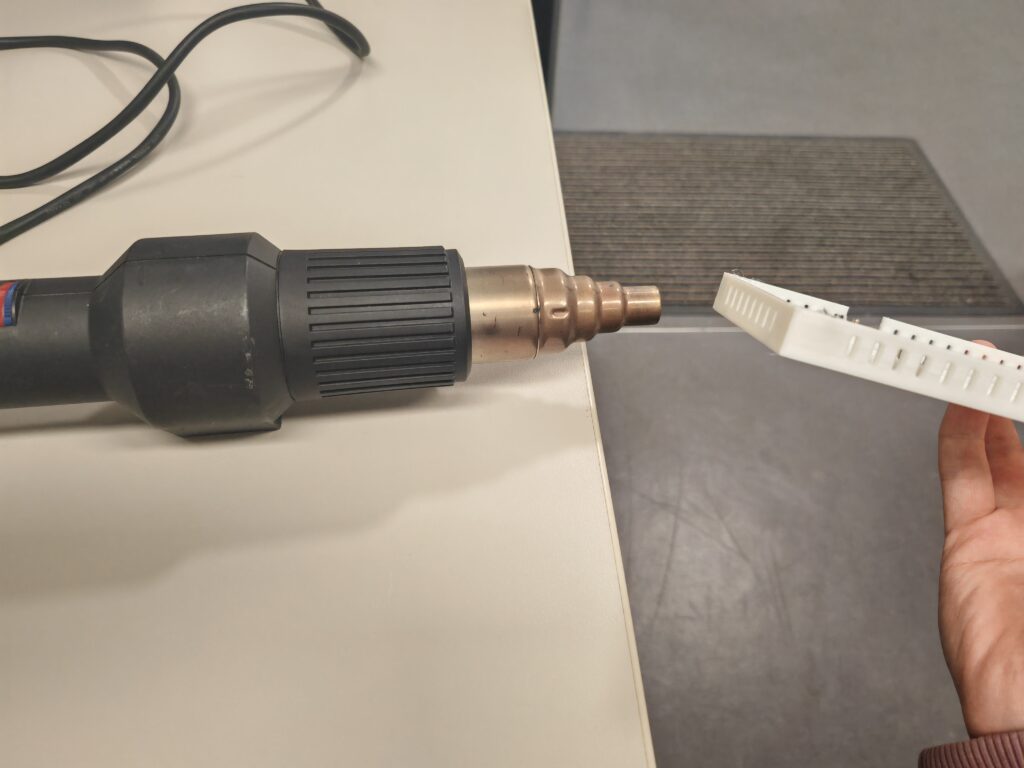
Finally, use a heat gun or lighter to **briefly** heat the areas with burrs to remove them. Do not heat for too long, otherwise it will lose its shape.
Now that the Ressourcenwächter enclosure is ready, you can start preparing the PCB.